

To make the melted crayon background you will need
cheap wax crayons ( I got mine from the $2.00 shop) paper removed
paper towel
pieces of card
iron waste paper

I use a thick piece of wood to work

I place some waste paper on the board and place my piece of card on top

next I select the crayons I wish to use, I usually pick 3
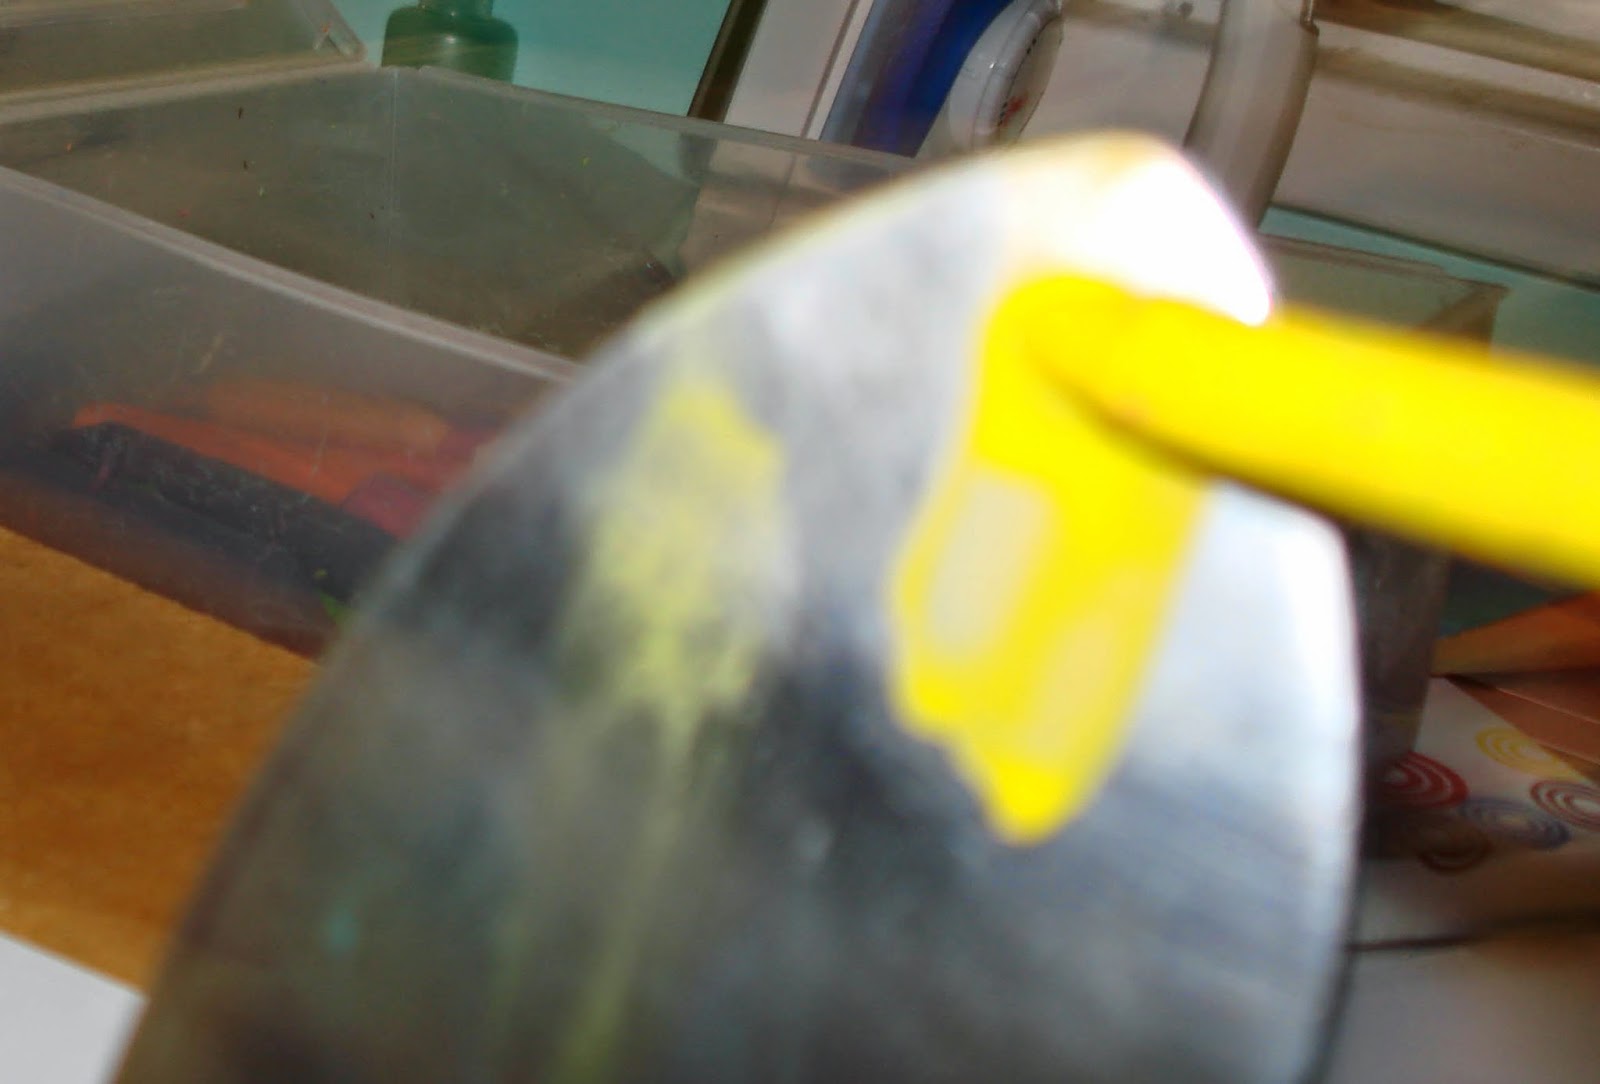
I start with the lightest colour and add it directly onto my hot iron

I then iron the colour onto my card

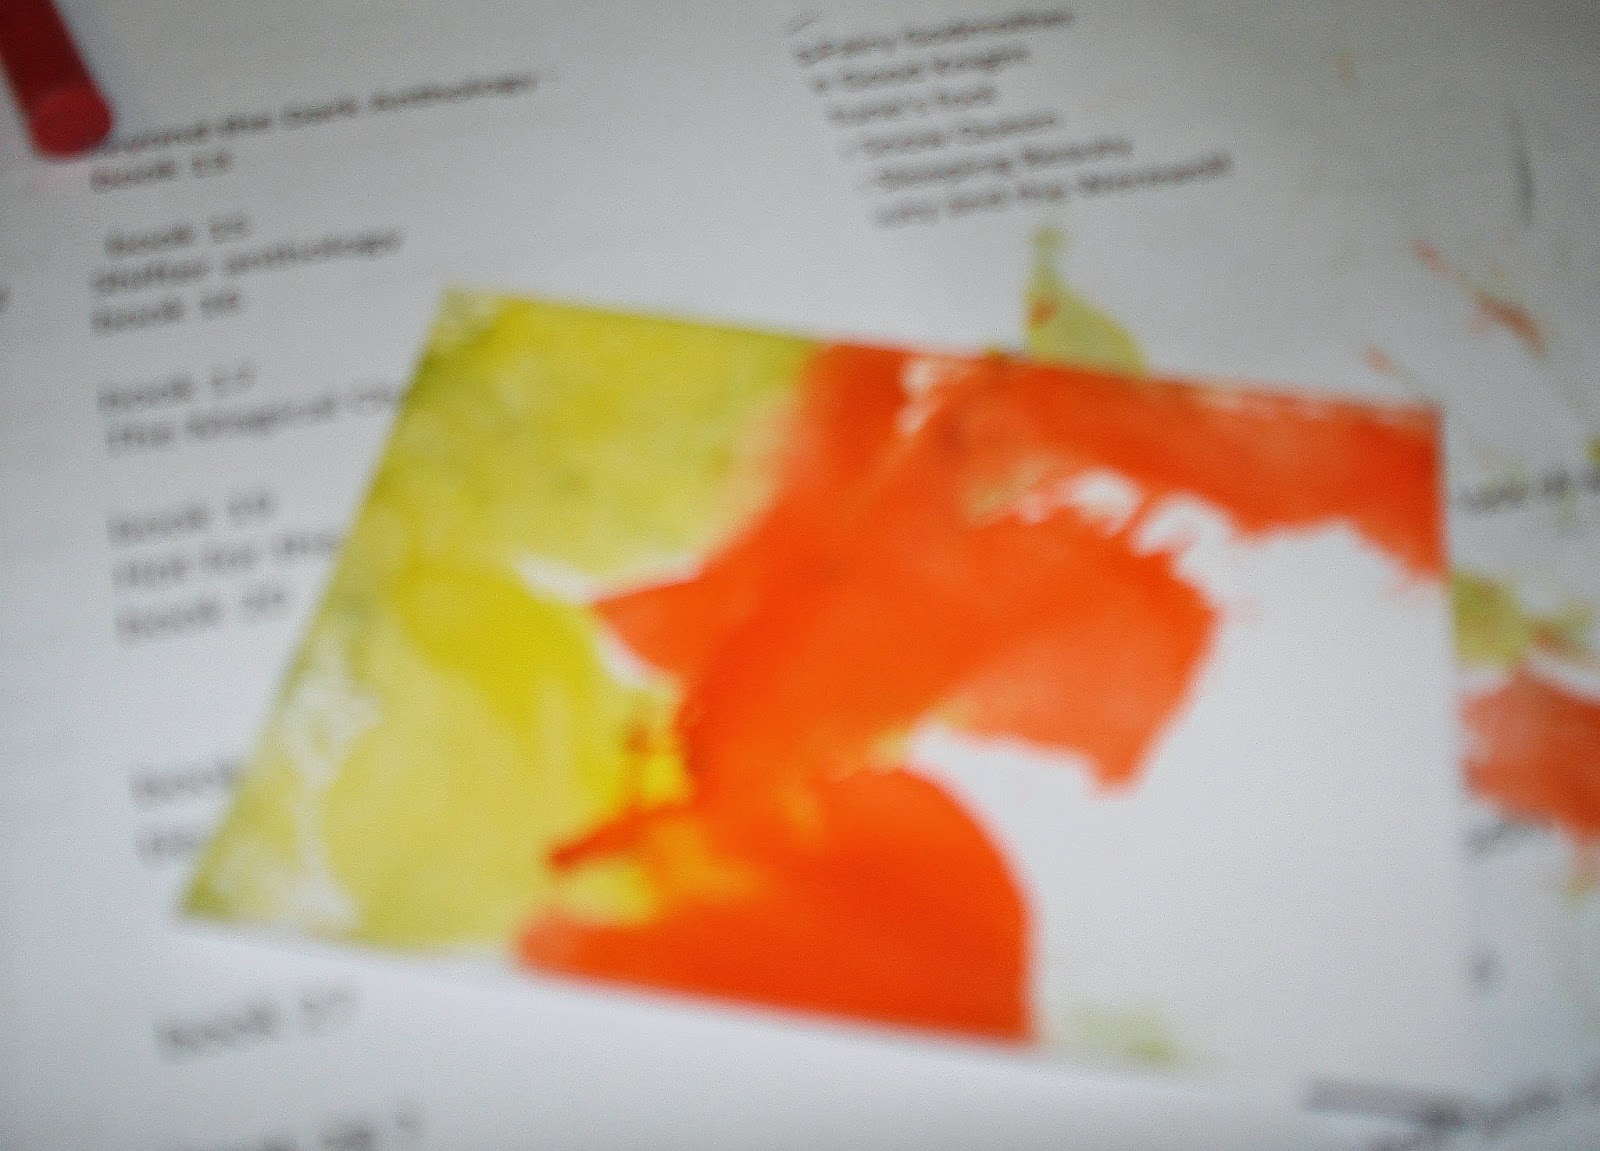
I repeat the process with the next colour

and again with the 3rd colour

I then flip the card over and iron the back

this is to remove excess wax and melt it so

I can wipe off more wax.

you repeat this process until the wax is removed and

you are just left with the colour

then you can start to play. these pieces can be stamped onto with Stazon, put into an embossing folder and dry embossed or you can even use dies on them

On this card I stamped onto a piece, then used some pva glue on it to give a glossy finish.
the flower was made from the same piece, minus the pva glue, I used Spellbinders Create an Aster die S2-063

On this one I used the same stamp with Stazon ink and once again covered with glue to give a glossy finish. Using the same card minus the glossy finish I die cut a butterfly Paper Artist HOTP 5323

On this one I used the same melted crayon piece as the previous card and die cut more butterflies.
the music background is music paper glued onto card, then I covered this with glue and carefully applied pink tissue paper, then once again covered with glue. when dry I used a spellbinders die (labels 3S4-189) to cut out the centre

On this one I placed my piece in an embossing folder and ran it through my cuttlebug.
No comments:
Post a Comment